Laufey - Drawing to 3D Workflow
Brief
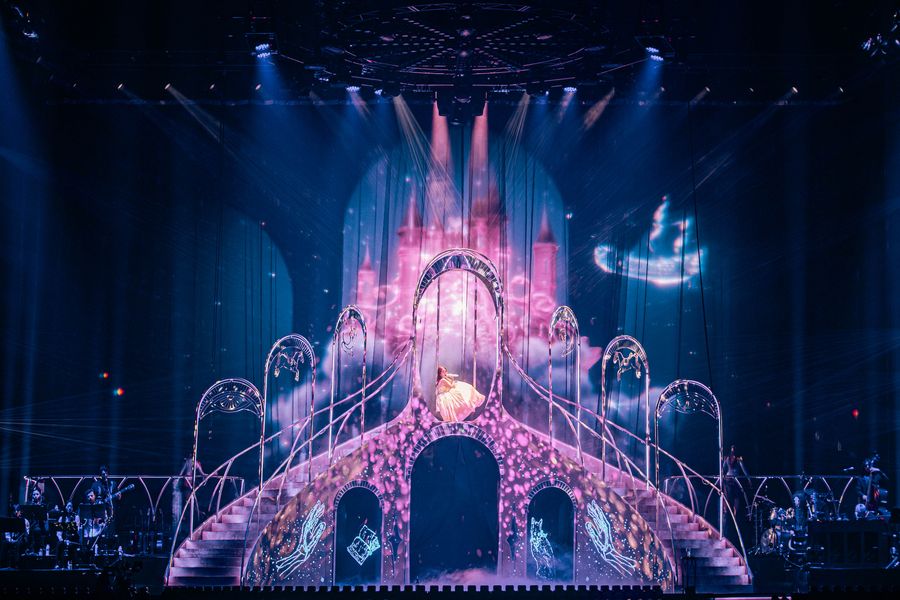
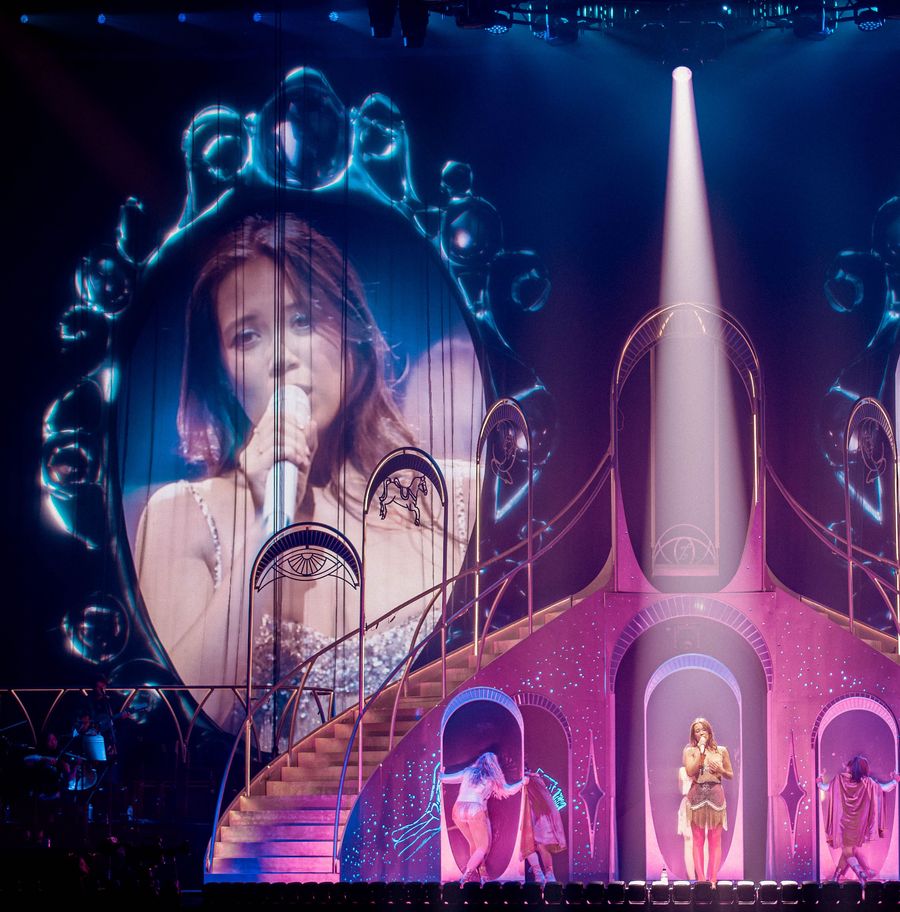
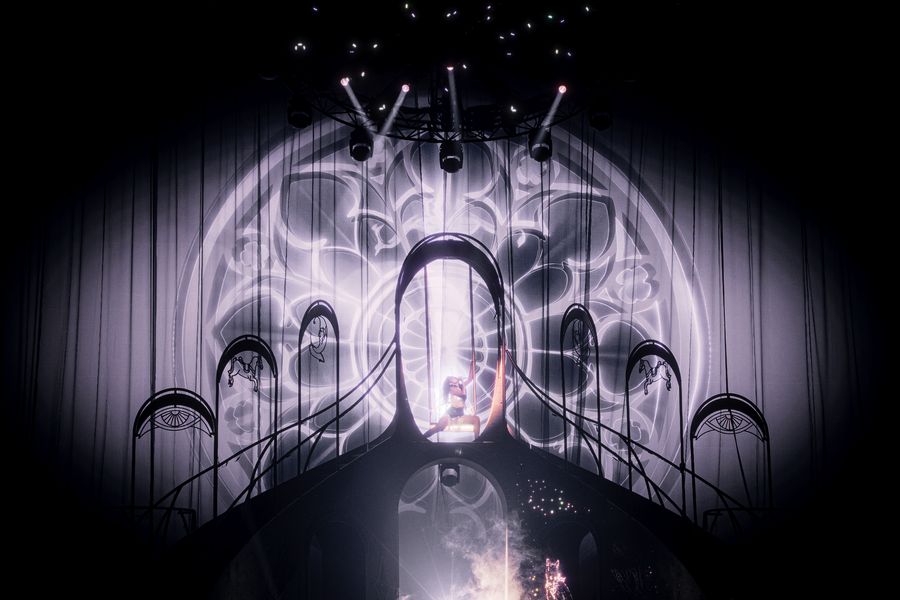
For the Laufey A Matter of Time Tour, we knew we needed something beautiful yet with a hint of darkness or awkwardness, as Junia, her sister and Creative Director put it. We had to stay within a grown-up elegance while going full whimsy. Stufish's set build included playful arches framing two curved stairs up to a central arch holding a swing; it sat somewhere between Fred and Ginger sets and Elsa's Castle, firmly in old Hollywood. This presented an opportunity to work outside of the usual square or rectangular screen format and instead forced us to play with composition that wasn't centred and reflected the set.
Concept
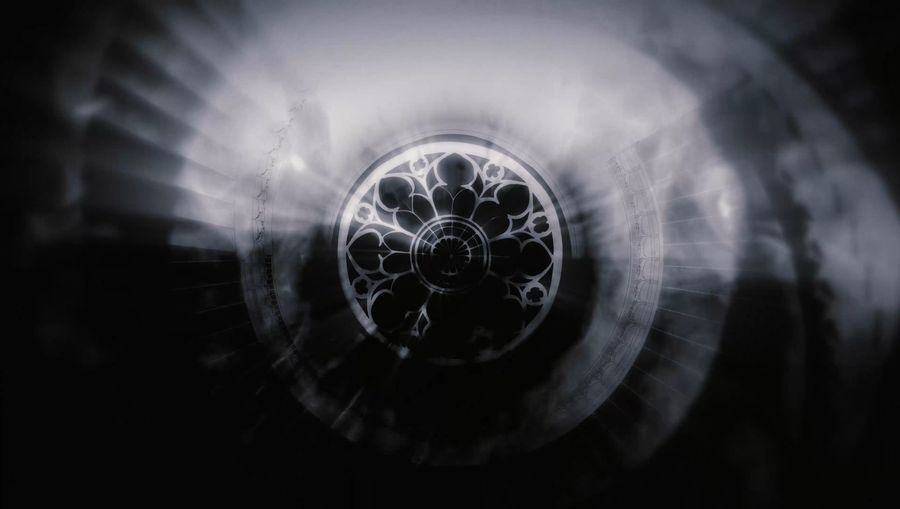
With this initial brief in mind, we needed a framing device which echoed the set and kept the content consistently dreamy. At this point, we introduced the idea of creating a 3D set extension in content, some virtual architecture to soften the junction between real-world scenic and video. However, clean 3D was absolutely not the right look for this, so we returned to a technique Hanna had been playing with for a while, which is to use hand-drawn elements as a basis for 3D geometry. It was Ida Lissner's stunning work (link here) which reminded us of the power of a human-made base to make 3D look less soulless.
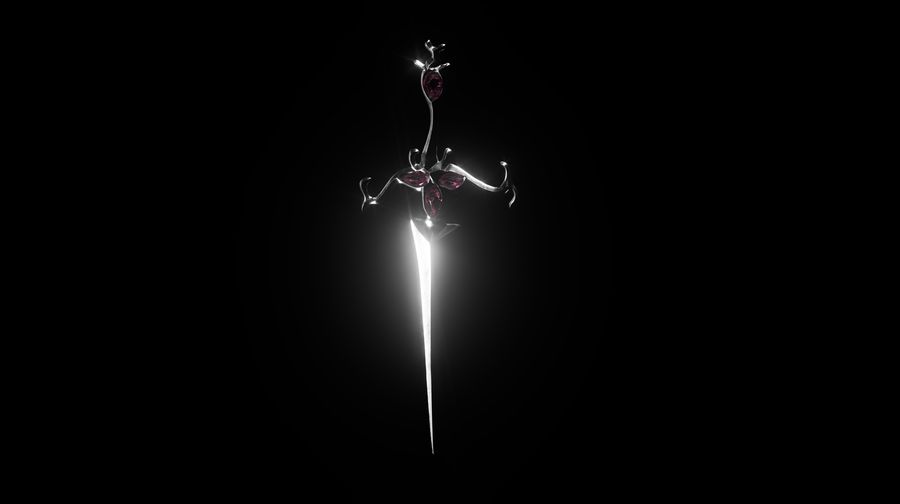
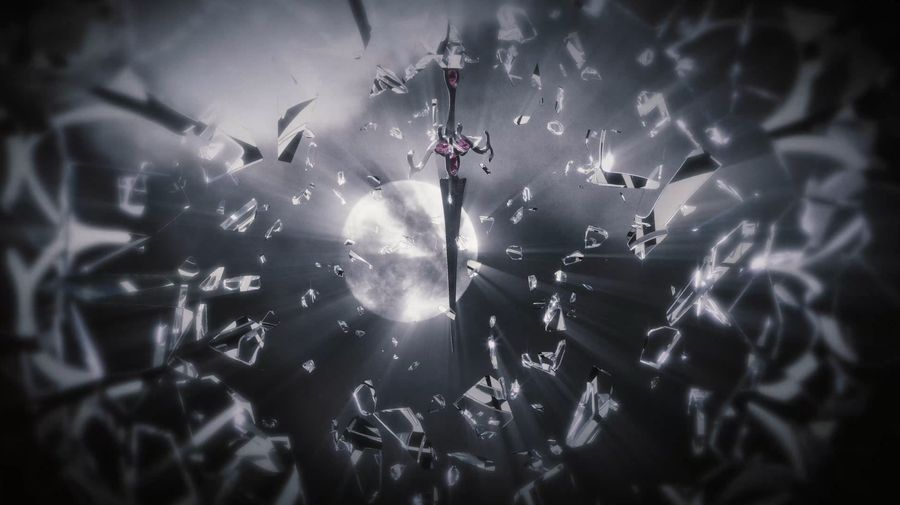
Our starting point for creating a process for this show was the recurring motif of the dagger. There were many attempts made at drawing the right kind of dagger, as can be seen below. And this was the first proof of concept for the process, so there was more trial and error, but in the end, it made an appearance in the Overture before having its big dramatic moment in the final sequence of Sabotage, in which it splits the sky and strikes lightning across the stage. Lighting and Video worked very closely together here to create a very extra end for the show.
Process
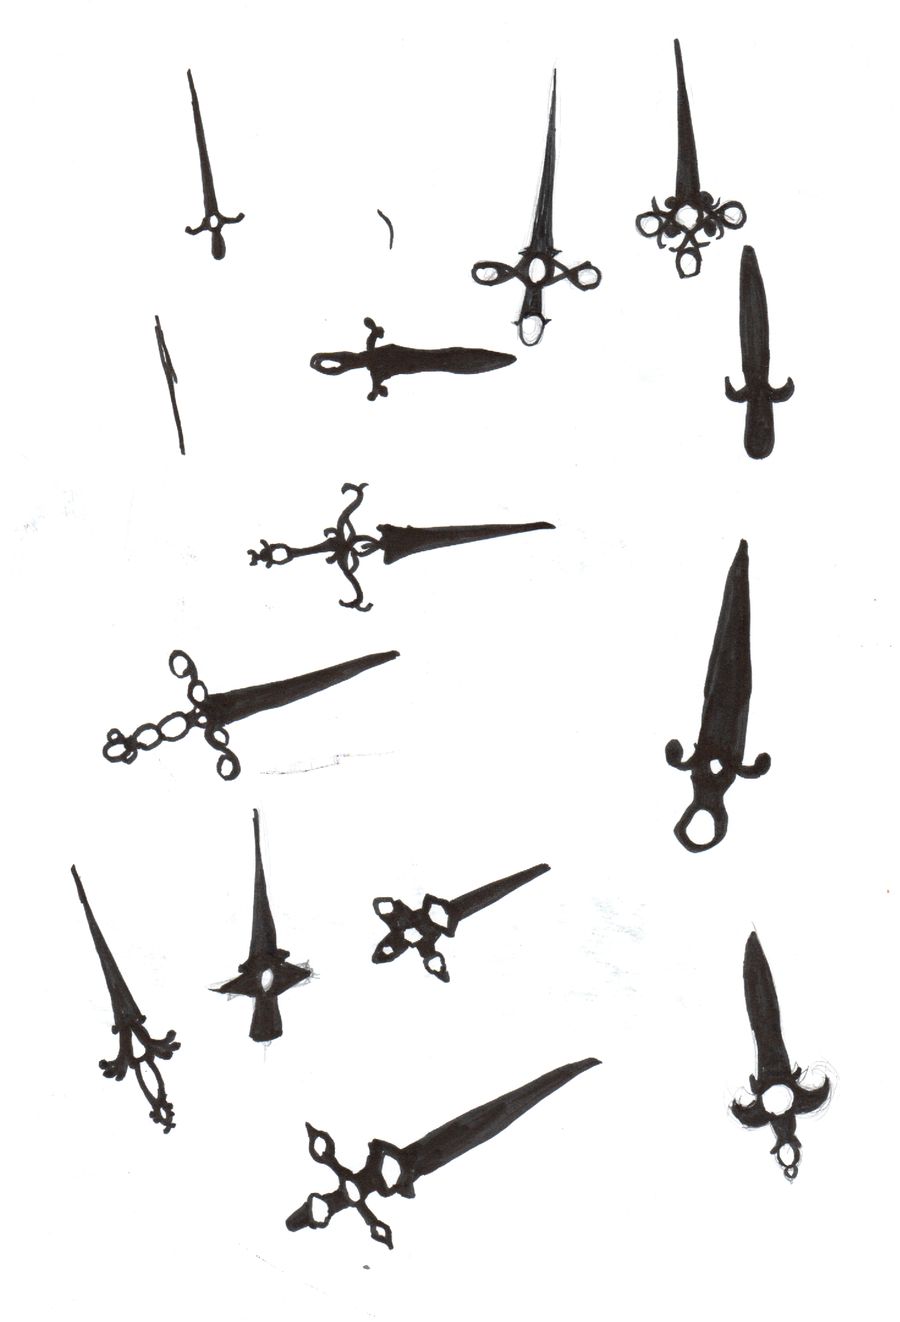
First sketches of daggers
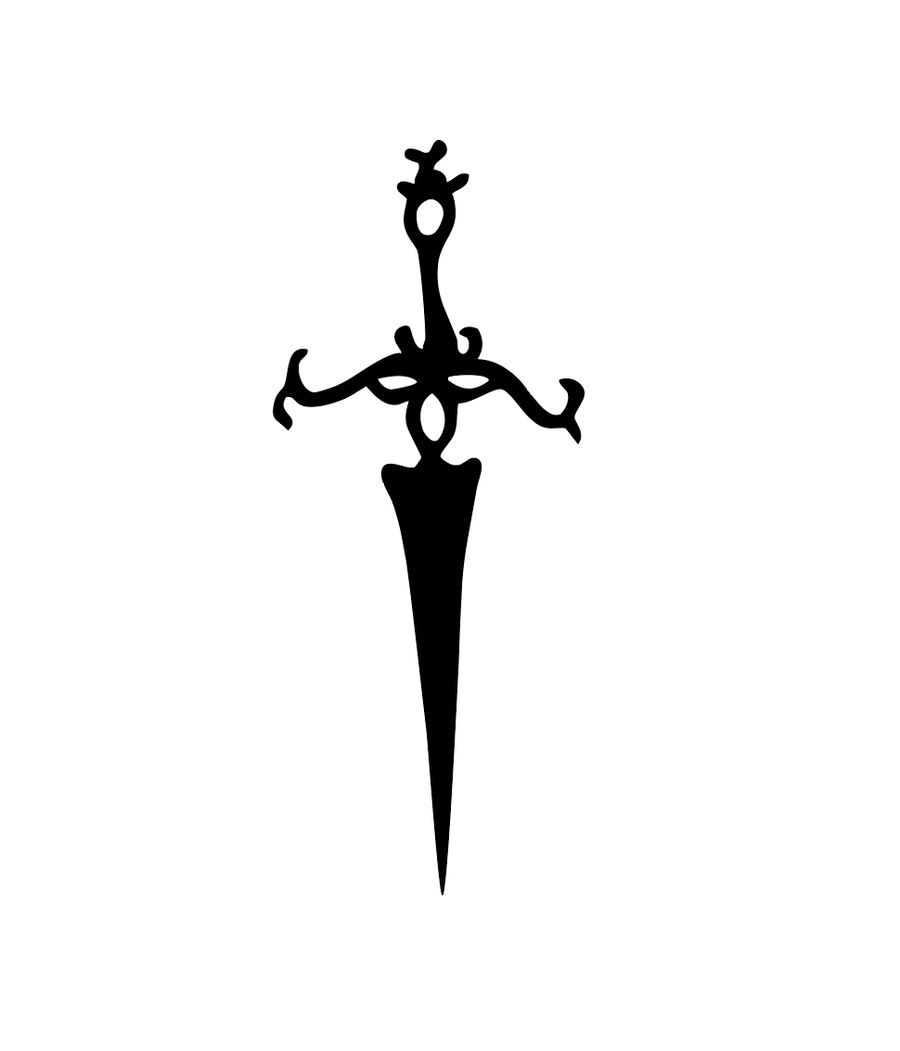
The chosen dagger converted to vectors
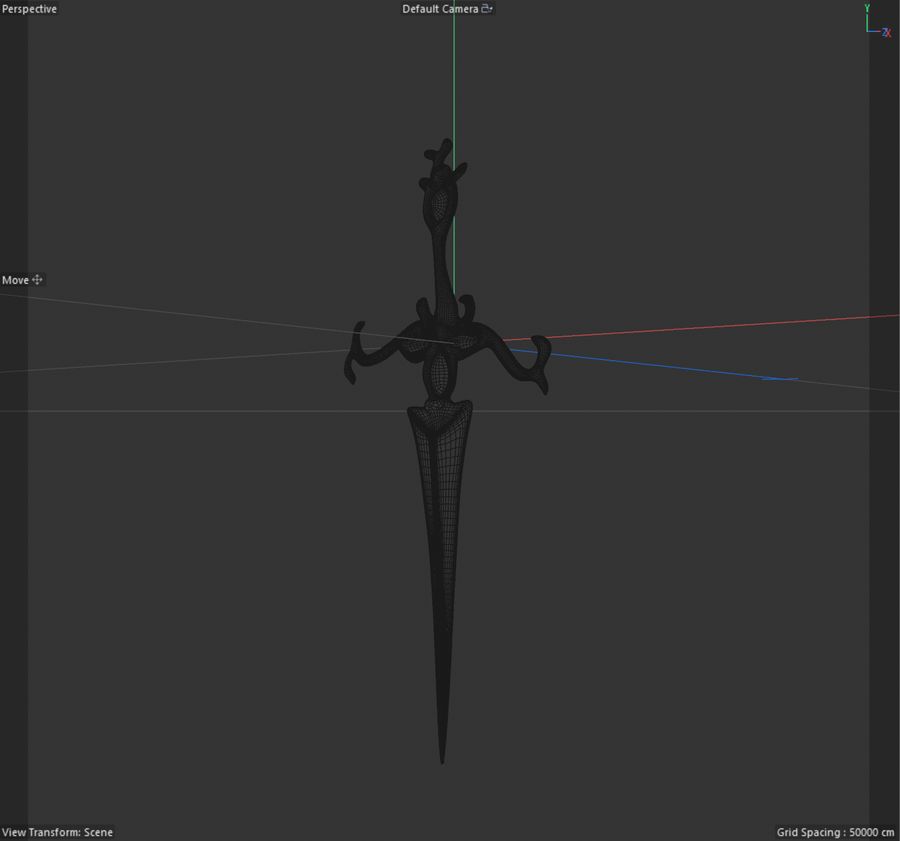
The vectors converted to splines in Cinema 4D
Drawing
It doesn't have to be perfect, but it helps to use a ruler or other tools to make sure your basic lines are straight. In the beginning, everything was completely freehand, but as we moved into more architectural drawing's Hanna started working with more tools for the underlying sketches. Those were done in pencil and then overdrawn in marker or brush and ink. It's important to get a high contrast, clear image down the line in the process.
Scanning the Drawing
This is just what it says on the tin. You don't need crazy resolutions. I scanned at 300DPI and TIFF format, so I had maximum colour depth to find exactly the right threshold for creating the outline in Illustrator.
Creating Vectors from Pixels
Import the scan either directly into Adobe Illustrator or first into Photoshop. If you're happy with your lines and the clarity of your drawing go straight for illustrator. If not, it's worth using Levels in Photoshop to increase the contrast ensuring all your blacks are black and your whites are white. This makes creating vectors in Illustrator a little easier.
In illustrator just drag and drop your image in and open the Image Trace window. Set that to black and white and play with the path and corner settings to get an outline you like. Then you can trace! After tracing there's often a little editing that needs to still happen. Cinema 4D doesn't like paths that consist of only two anchor points so it's important to add points to those. I also adjusted for slightly less random corners and a smoother look.

The vectors converted to splines in Cinema 4D
3D Model of the dagger
Vectors to 3D
Save the Illustrator file as an Illustrator 8 file and drag and drop it into Cinema 4D. It will import as a spline. You then group the spline under an Extrude object. For the mirror in Snow White, Hanna set the distance to 0.2mm and played with the caps to get rounded geometry.
Create a 3D Lighting set-up and Materials
We used Redshift in this process to get more depth in our reflections and dispersion in transparency. It adds a small amount of extra detail, which really elevates a 3D render and underlines that organic touch that our drawing process aims for. For the dagger, Hanna used a Studio HDRI and a Dome light to add detail to the brushed metal material she used from the Cinema 4D content browser. Textures for that can be found online easily. No other lighting was needed in this instance.

Grading
We took the render into Adobe After Effects to apply a grade to give it the old film feel that we created across the show. Hanna used the After Effects Plugin Magic Bullet Looks in this instance, adding a custom look containing Diffusion (which adds a soft glow) and a few different gradients.
Content to Stage
From Adobe After Effects we render out the whole video in the codec NotchLC. This allows some compression but keeps enough colour information to look great on screen. Our project is set to 16 bit colour as the system on this show ran on 10 bit rather than 8. When we've rendered our content it goes into Disguise - the software used to program the video for this show. This is where live camera feeds and content are combined and everything is set up to play in sync with the other departments. On this show we used a time-code signal to trigger the video content.
Timelapse - Snow White mirror drawing to 3D to content
Timelapse - Dreamer castle drawing to 3D
We used this process for a number of songs, which needed a magical element that felt straight out of a dream or a nightmare. The floating glass castle in Dreamer was one of our favourite outcomes. We combined lots of drawings to create all parts of the geometry which formed the castle. We felt like it added a little awkwardness to an image which could have leant too hard into Disney sweetness.
Timelapse - Dreamer castle drawing to 3D
Timelapse - Snow White mirror drawing to 3D to content
Having repeated the process for multiple elements in the show we came to appreciate the resulting look of this process. The analogue, organic and "real world" quality it has is hard to achieve with digital tools alone. This process also gave us the perfect conceptual framework (literally), to bring together more digital aesthetics with the songs, which are more fairytale leaning and purely based on drawings like Sabotage. In this song, we skipped the 3D process and only used the original drawings, leaning hard into the storybook aesthetic. This was made by placing the images in 3D Z-depth in Adobe After Effects and animating a camera to travel through them on the Z-axis in time with the music.
Drawing Timelapse
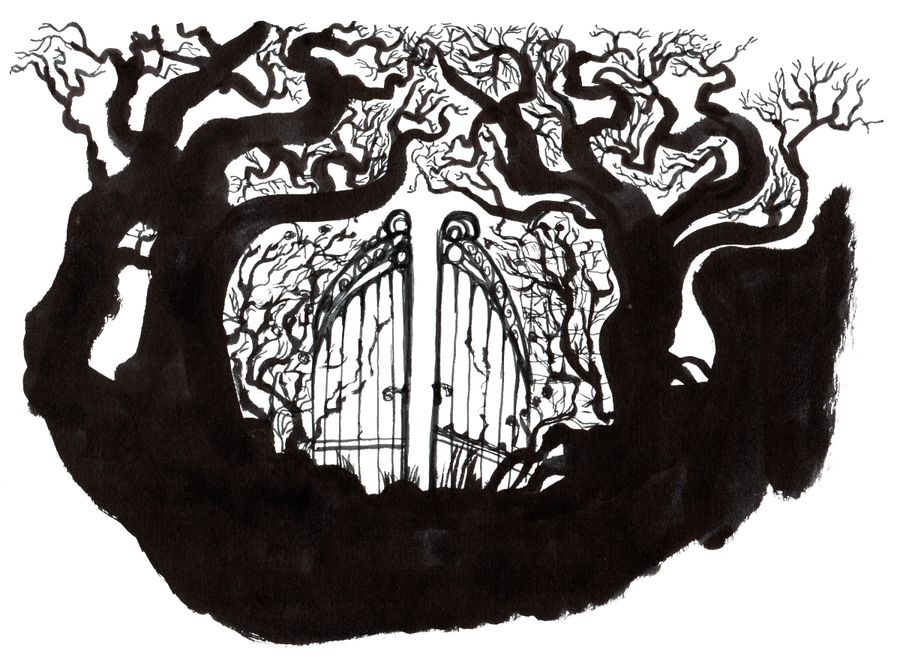
Drawing scanned and cleaned up as it went into content
Snippet of show content
As the song developes we end up in 3D space again and due to the same origins of the drawings and 3D geometry, the transition did not feel jarring but rather an intensification.

Live Camera
We also knew we wanted to incorporate live camera feeds of Laufey performing into the content because the IMAG screens either side of the stage were on the smaller side. To ensure Laufey remained visible and connected with the audience, we integrated the live camera feeds into content throughout the show. The camera treatment was kept simple and elegant, with a clean visual approach to balance the busier show content. A soft, natural colour grade was applied to enhance Laufey’s presence and ensure she looked beautiful in all shots. We used the framed the live camera feed on the side screens with the same arches we used in content, creating a cohesive and refined visual experience.
What a treat to work on this beautiful show to music that didn't leave our heads for literal weeks. Thanks to everyone involved!